
Here's what we did in Lesson 3:
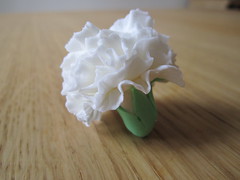
- Assembled the calla lily from pieces made in Lesson #2
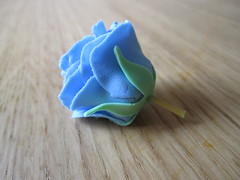
- Added the calyx to the carnation and rose from Lesson #2
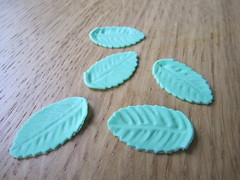
- Created leaves
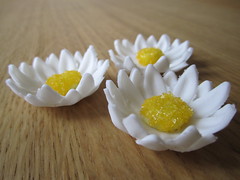
- Created daisies
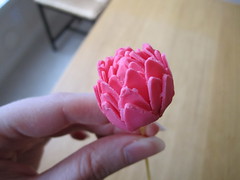
- Created mums (using the mum base made in Lesson #1)
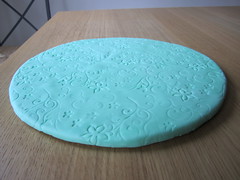
- Covered a cake board in fondant
The daisies seem to be a fan favorite with people in the class and those that look at my pictures. They are just so cheerful! I don't think that I have made a proper mum yet -- mine came out too tight and not "poofy" enough. Practice needed.
Finally, we covered a cardboard cake board in fondant. This is for the base of our final project cake next week. I don't see myself putting cakes on fondant-covered cake boards much in the future, but it was a good introduction to how to work with large circles of fondant. The instructor brought in the "impression mats" sold by Wilton to make the fun design.
One complaint about the class: the class supply kit made by Wilton contains fondant cutters that are inferior. Their design (cheap, unbalanced plastic) make it impossible to get clean cuts on shapes like the daisy or the rose. Metal cutters would be so much better.
Next week: final cake project time! I need to start designing my cake and preparing the decorations now.
Check out my post about Lesson #2.
Check out my post about Lesson #1.
Erin I just love the fondant and gum paste flowers! They are just gorgeous. Next time I see you will you please please teach me how to make them?
ReplyDelete~Heidi
yes certainly!
ReplyDelete