Here's what we did in Lesson 2:
- Filled cupcakes with the #230 tip (I just watched others do this because I didn't bring cupcakes and I'd already tried doing this at home)
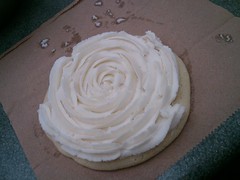
- Used the #1M tip (kind of like a very large star tip) to ice cupcakes (I used my cookie and it looked kind of like a rose! see the first picture)
- Made a clown by painting two lines of icing color in a disposable piping bag, filling it with frosting, and then building the body, arms, and legs that had a color stripe on each side (using #18 star tip). A clown head can be inserted in top to complete the effect. I won't include pictures of this because I thought it didn't look very good and because headless clowns are creepy!
- Used piping gel to transfer designs to surfaces like cakes or cookies (using the #3 tip).
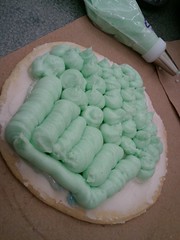
- Used the #12 tip to do "dimensional designs" like lines and circles (see the second picture)
- Used the #352 leaf tip to make leaves
I brought my own icing to the class using the recipe provided in the lesson plan. I had some non-soy vegan shortening to use up (palm oil), but unfortunately it was pretty old and I think badly affected the texture of my icing. The texture seemed fine when I first made it, but it got really stiff overnight and was hard to get back to medium consistency. It also seemed like there were little chunks of shortening in the icing that occasionally clogged the icing tip. By the end of class, my icing was completely unusable. I'm going to try making the recipe with brand new Crisco and see how it turns out for next week!
I plan on practicing the leaf tip, gel transfers, and cupcake icing techniques this week.
Check out my post about Lesson #1.
No comments:
Post a Comment